Skip to content
Structured Exercise Anatomy, Biomechanics & Injury Prevention Guides
Home
Products
Order
Exercises
Muscles
Blog
Navigation
KinX Learning
Currency
USD $
Currency
AED د.إ
AFN ؋
ALL L
AMD դր.
ANG ƒ
AUD $
AWG ƒ
AZN ₼
BAM КМ
BBD $
BDT ৳
BIF Fr
BND $
BOB Bs.
BSD $
BWP P
BZD $
CAD $
CDF Fr
CHF CHF
CNY ¥
CRC ₡
CVE $
CZK Kč
DJF Fdj
DKK kr.
DOP $
DZD د.ج
EGP ج.م
ETB Br
EUR €
FJD $
FKP £
GBP £
GMD D
GNF Fr
GTQ Q
GYD $
HKD $
HNL L
HUF Ft
IDR Rp
ILS ₪
INR ₹
ISK kr
JMD $
JPY ¥
KES KSh
KGS som
KHR ៛
KMF Fr
KRW ₩
KYD $
KZT ₸
LAK ₭
LBP ل.ل
LKR ₨
MAD د.م.
MDL L
MKD ден
MMK K
MNT ₮
MOP P
MUR ₨
MVR MVR
MWK MK
MYR RM
NGN ₦
NIO C$
NPR Rs.
NZD $
PEN S/
PGK K
PHP ₱
PKR ₨
PLN zł
PYG ₲
QAR ر.ق
RON Lei
RSD РСД
RWF FRw
SAR ر.س
SBD $
SEK kr
SGD $
SHP £
SLL Le
STD Db
THB ฿
TJS ЅМ
TOP T$
TTD $
TWD $
TZS Sh
UAH ₴
UGX USh
USD $
UYU $U
UZS so'm
VND ₫
VUV Vt
WST T
XAF CFA
XCD $
XOF Fr
XPF Fr
YER ﷼
Newsletter
0
Search
Login
Cart
0
Home
Products
Order
Exercises
Muscles
Blog
Cart
Your cart is empty
Start shopping
Add order note
Save
Home
KinX Learning Blog: Learn Exercise Internals
KinX Learning Blog: Learn Exercise Internals
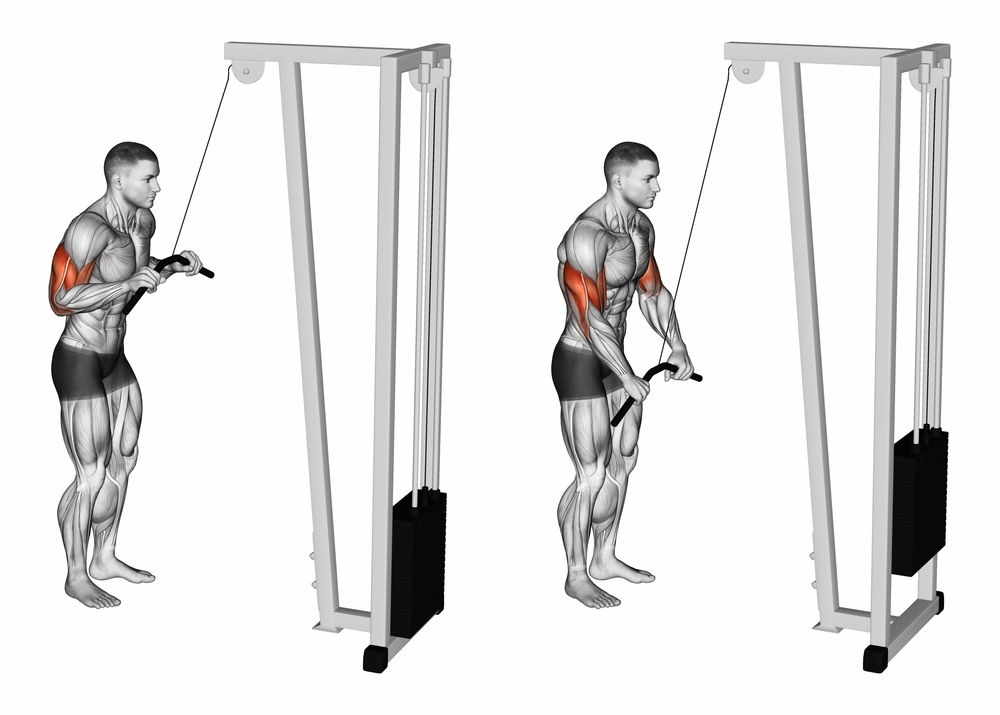
Understanding Triceps Pushdown Mechanics and Elbow Extension
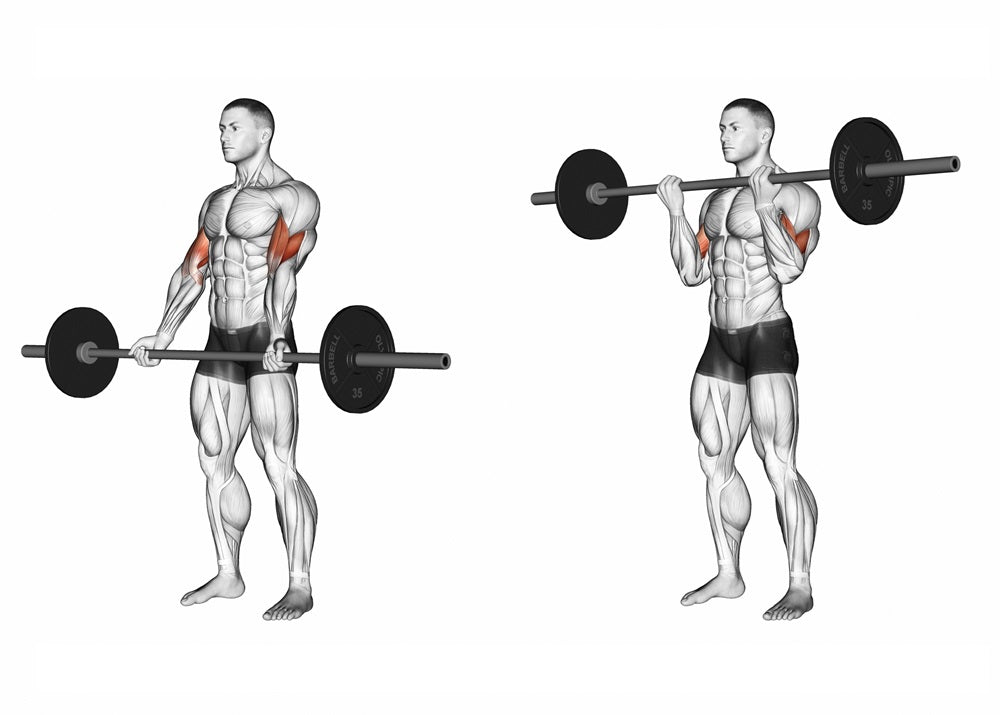
Understanding Barbell Bicep Curl Mechanics and Elbow Flexion
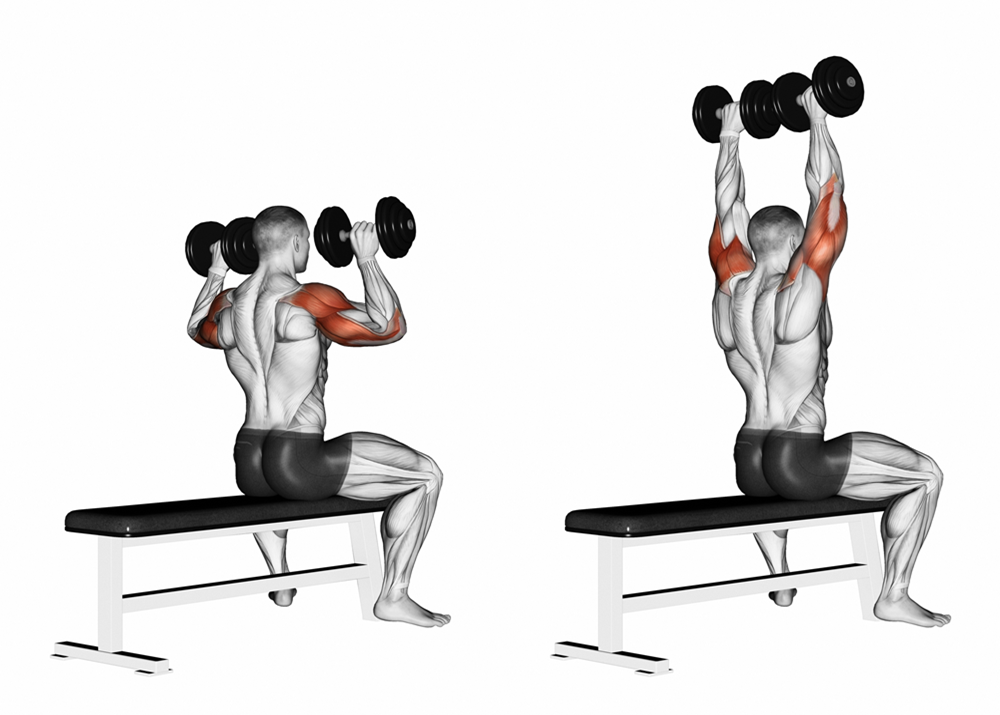
Understanding Seated Overhead Dumbbell Press Mechanics and Shoulder Stability
Key Muscles and Movements in the Lat Pulldown Exercise
Understanding Bench Press Mechanics and Shoulder Positioning
Understanding Deadlift Mechanics and Proper Setup
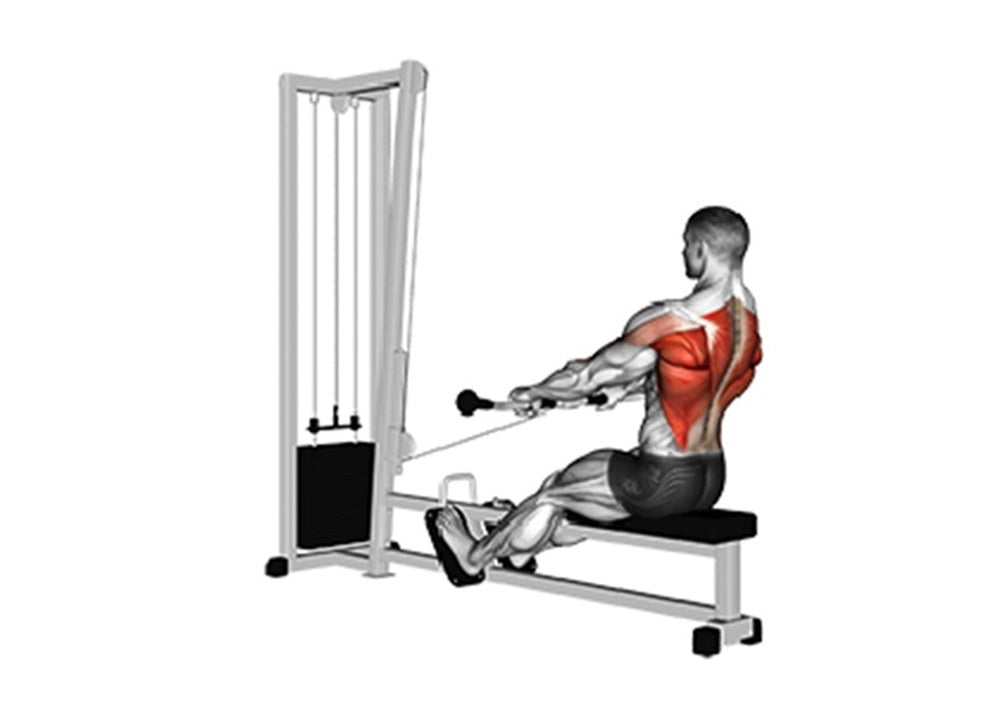
Understanding Seated Row Mechanics and Prime Movers
The Biomechanics Behind Effective Exercise Cues
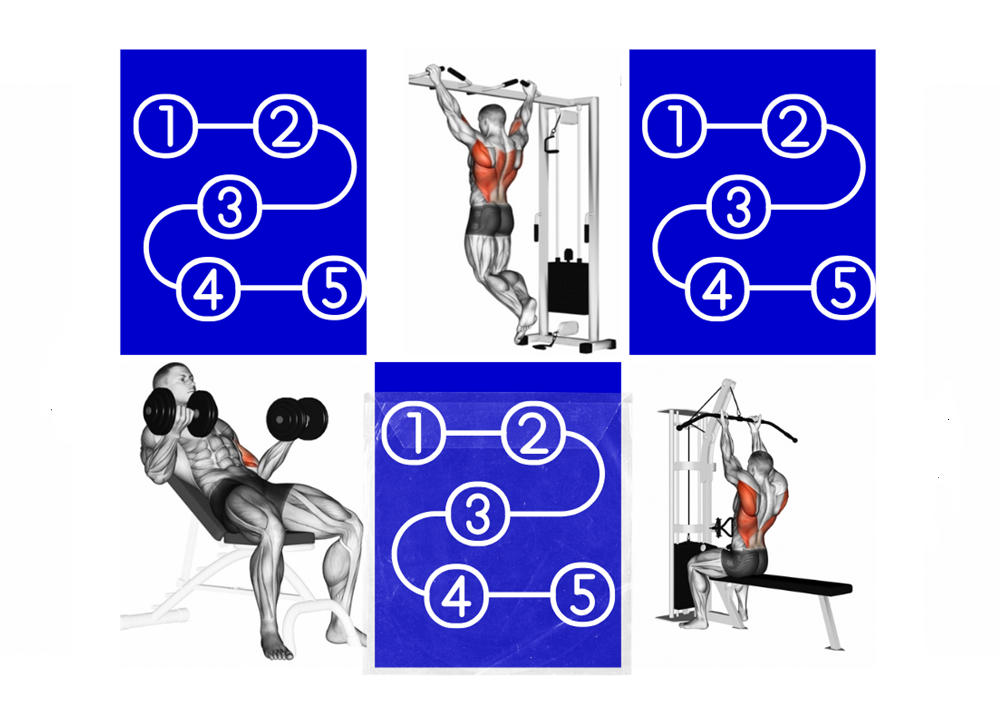
Optimal Exercise Order: Maximize Your Workout Results with the Right Sequence
1
2
3
…
5