


Our Premium Ultimate Guides


Exercise Anatomy and Biomechanics: Ultimate Guide
What you will Learn

Muscle Anatomy & Roles
Detailed analysis of primary movers, antagonists, synergists, and stabilizers for each exercise to clarify internal muscle function.

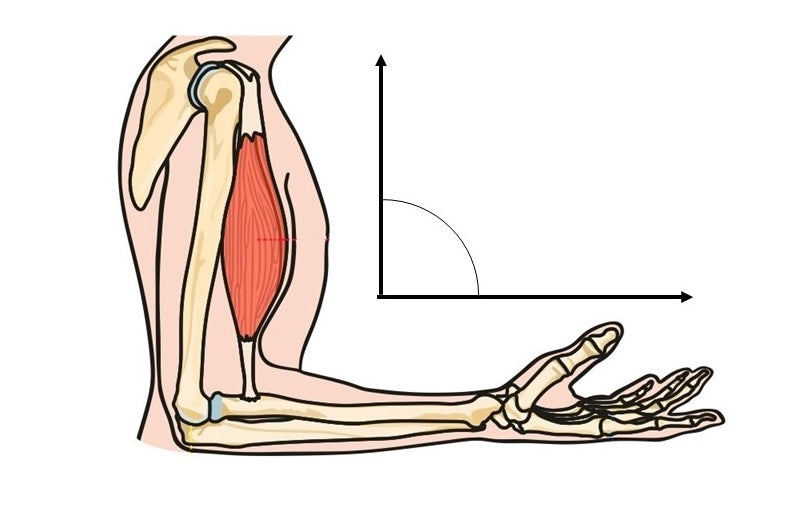
Joint Action Mechanics
Precise identification of joint movements and how force is produced, transferred, and controlled throughout the exercise.
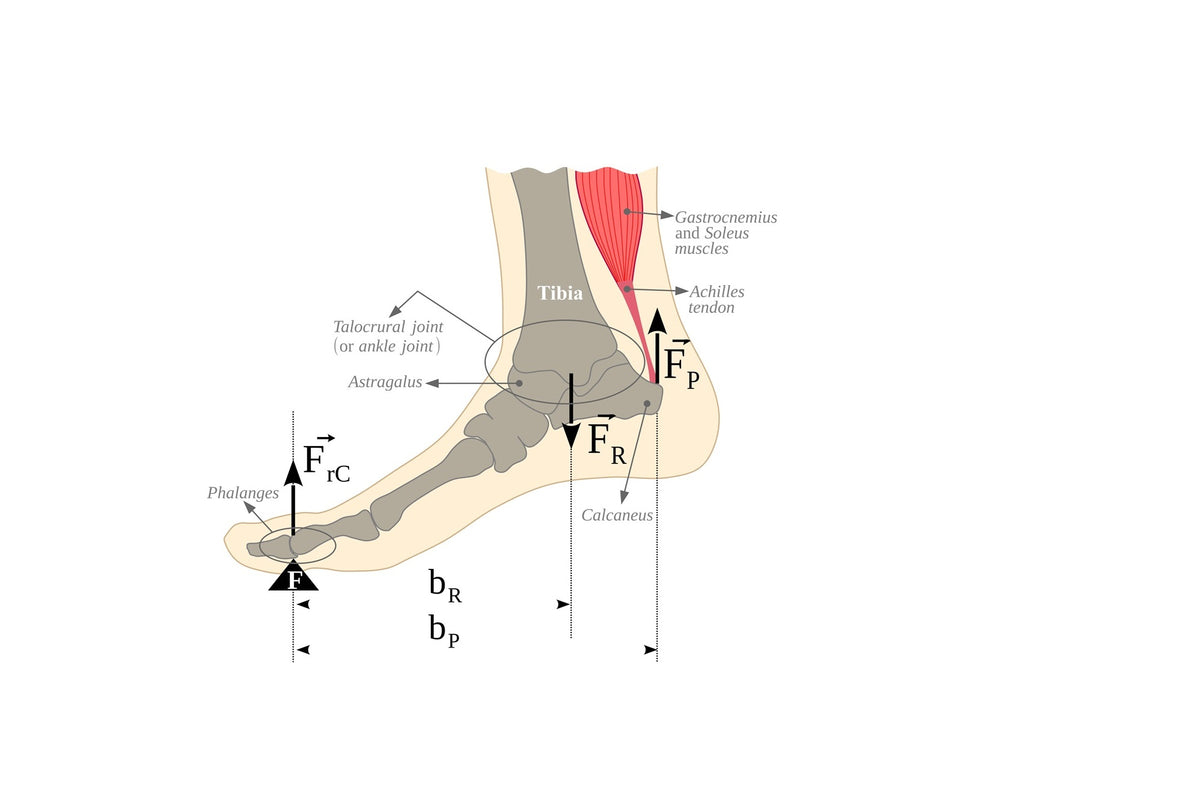
Biomechanical Principles
Examination of leverage, torque demands, force vectors, and stability requirements influencing movement efficiency.
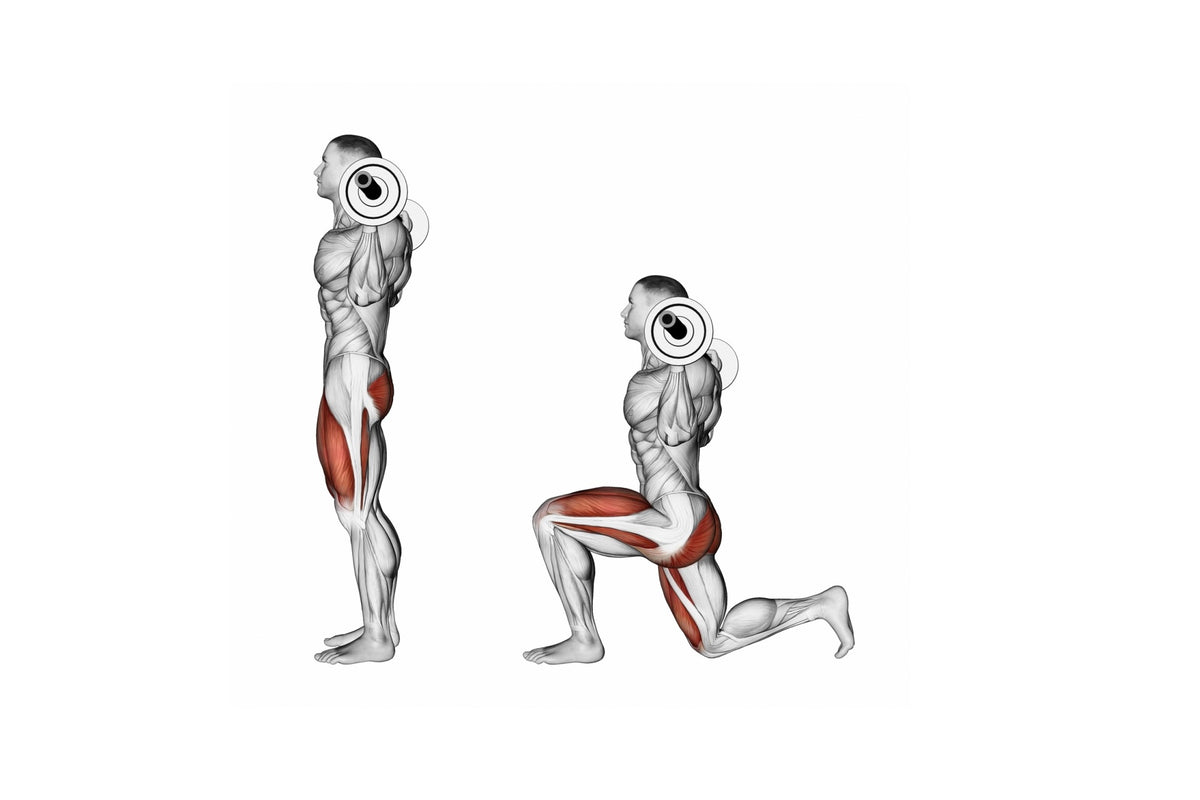
Exercise Execution Framework
Structured breakdown of starting position, movement phases, and finishing mechanics to ensure accurate execution.
Exercise Safety and Injury Prevention: Ultimate Guide
What you will Learn

Muscle Roles & Risk Awareness
Analysis of primary and supporting muscle roles to identify imbalance patterns and reduce injury risk during each movement.

Proper Form & Execution Standards
Clear technical guidelines defining safe positioning, alignment, and movement mechanics to prevent compensations.

Progressive Load & Breathing Control
Structured progression principles combined with controlled breathing strategies to support safe intensity increases.

Recovery & Injury Prevention Strategy
Integrated guidance on rest, common mistakes, equipment use, spotting, and self-monitoring to support long-term training safety.
Exercise Cue Mastery: Ultimate Guide
What you will Learn

Starting Position Cues
Precise setup instructions establishing joint alignment, stability, and initial muscle engagement before movement begins.

Movement Phase Cues
Biomechanics-based guidance clarifying force direction, joint mechanics, and coordinated muscle action during execution.

Ending Position Cues
Clear finishing mechanics reinforcing controlled range of motion and stable completion of each repetition.
Biomechanical Rationale
Explanation of the mechanical purpose behind each cue, linking joint motion, stabilization demands, and muscle function to movement quality.
Ongoing insights into exercise anatomy, biomechanics, safety principles, and movement mechanics.
Exercise Education Articles & Analysis

Start Your Exercise Education Journey
Get your FREE Understanding Muscle Groups in Exercise guide and discover the fundamentals of exercise anatomy, biomechanics, and muscle function.
Join the KinX Learning community and get your free guide today.